Roasted Bell Pepper and Tomato Soup

bell pepper tomato soup and toppings.png

INGREDIENTS

2 bell peppers, sliced and with seeds removed

olive oil

1 onion, chopped

1 or 2 carrots, chopped

2 or 3 stalks celery, chopped

2 to 4 cloves garlic

1 clamshell cherry tomatoes (or 2 to 3 large tomatoes, or 4-6 smaller ones)

1 1/2 quarts vegetable broth or water plus 2 cubes bouillon

herbs, fresh or dried—try any combination of basil, thyme, oregano and/or marjoram

salt and pepper to taste

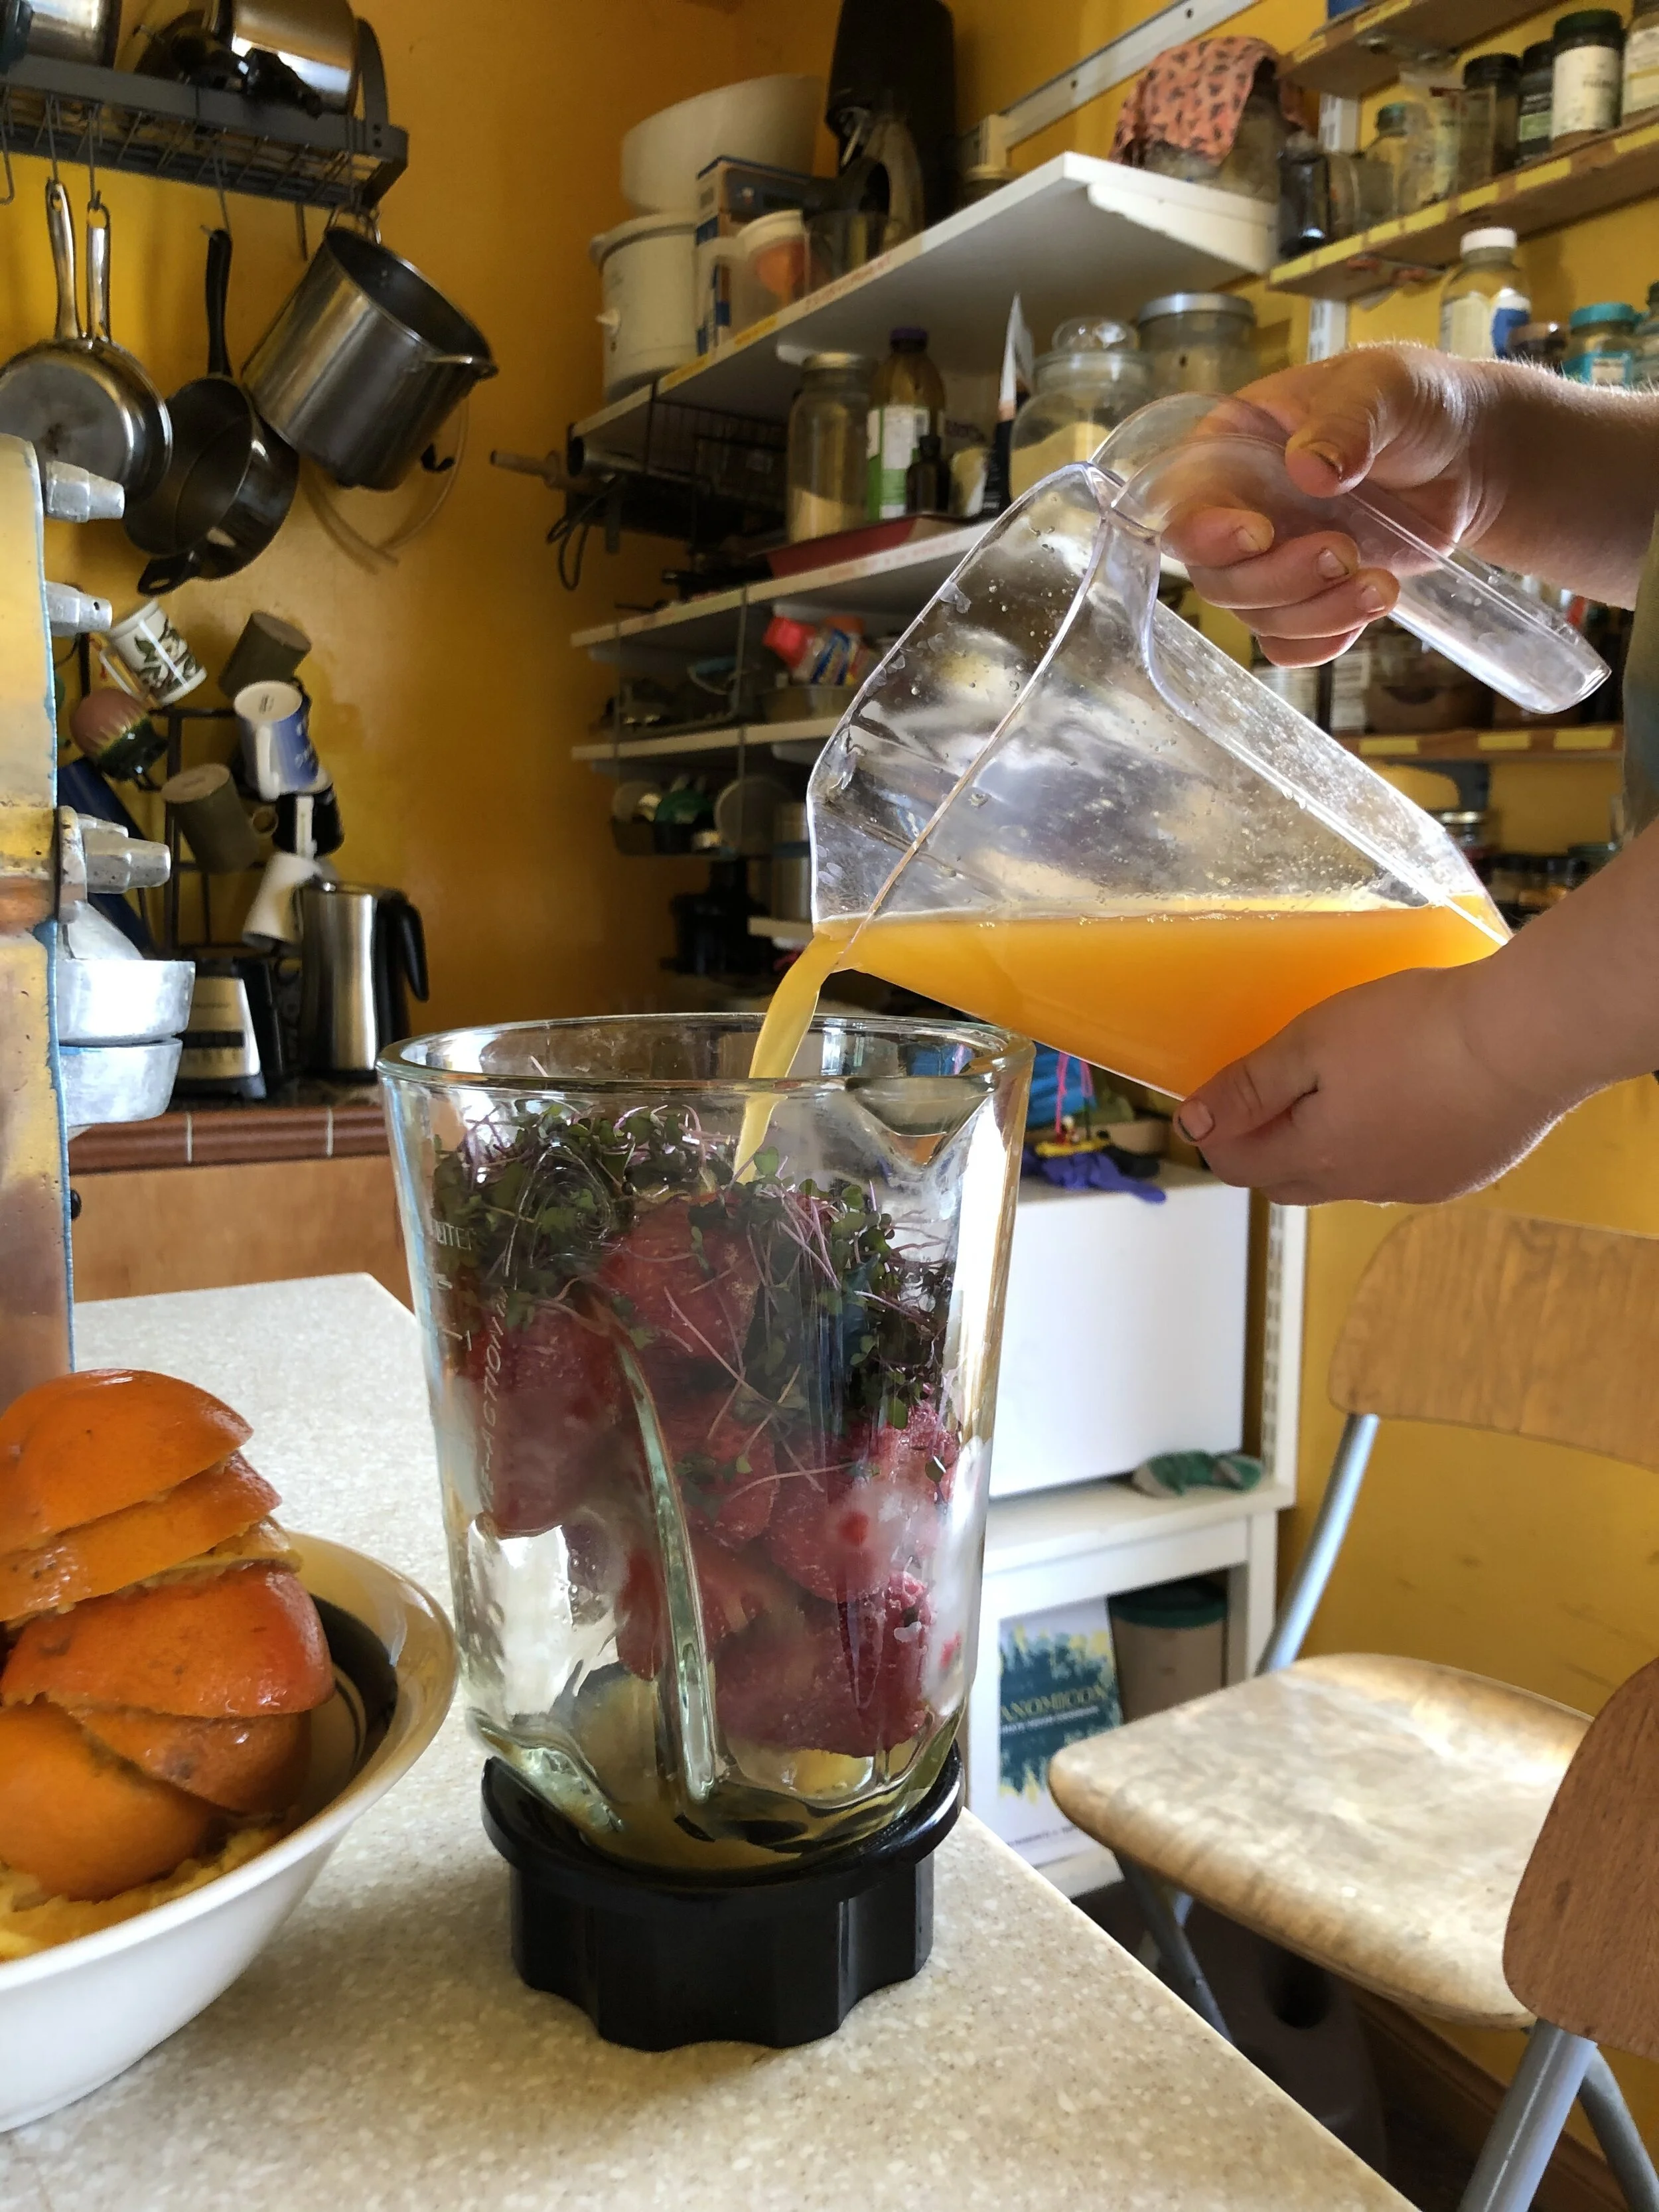
TOPPINGS— Try serving with croutons, tortellini, crusty bread or even tortilla chips, and of course, pile on this week’s purple kohlrabi microgreens (or any microgreens you’ve got around) and parsley (or other chopped leafy greens like kale or arugula) to feed the good stuff to your gut microbiome! Don’t forget the slice of lemon or lime on the side.

INSTRUCTIONS

Pan roast the bell pepper in a bit of olive oil for a few minutes, until the skin starts to blister and it gets brown in spots.

Add the onion and saute for a few more minutes until it’s a bit transparent and also starts to brown

Add the carrots, celery, garlic, salt and pepper with a bit more olive oil and saute a couple more minutes

Add the tomatoes and stir fry another minute or two.

Add the broth or water and bouillon and herbs and cover and let simmer for 10 to 20 minutes.

Use an immersion blender to puree the soup or remove from heat, let cool a bit and then puree in a blender.

Serve with your choice of croutons, crusty bread, tortellini or tortilla chips (so many directions to take it!) and top with microgreens, parsley or other leafy greens, and a slice of lemon or lime on the side.

Vegan Cashew Cheese

IMG-2419.jpg

The fact that this recipe exists in my repertoire is due, in part, to our beloved Kooki and the secrets he’s gathered along his life journey and shared with us—one of which is just what makes this vegan cashew “cheese” so superior to other vegan cheese substitutes. He might tell you it’s the ground mustard seed. I, being (not strictly vegan, but still) generally anti-creaminess in many of my foods (read: extremely anti-mayonnaise/ equally anti-sour cream) love this stuff and would credit the beautiful balance between the tofu, cashew and nutritional yeast. Even if you do love the above-mentioned creamy foods, set your love for those aside and give this creamy food a try. I hesitate to call this ‘cheese’ because it really isn’t. It’s in a delicious category of its own and won’t leave you feeling heavy the way other cheeses and wannabee cheeses could. Smother some pasta and veggies with it (which is what I’m thinking to do with my leftover batch and this week’s broccoli and spinach) or use it on vegan pizza or in a vegan lasagna. It’s a project, so get ready, but when I made it last night, it managed to transform my grumpy six-year-old’s complaints that he doesn’t like cauliflower and will NEVER eat it to, and I quote(!), “This is magical, Mom. I love it so much, it makes the cauliflower and sprouts taste so yummy, it’s magical, I love you mom.” Yup. If you have little kids that sometimes refuse to eat their veggies, try it. Ok, here goes:

INGREDIENTS

1 medium onion

3 or 4 cloves garlic (peeled and chopped)

12oz soft or silken tofu (I use the unrefrigerated 12 oz nigari silken tofu boxes available at Sprouts— they keep a long time on the shelf and blend smoothly)

2 cups roasted and salted cashew pieces (½ 16oz bag from trader joes) or 1 cup (about half a jar) cashew butter

1/2 cup nutritional yeast

<½ cup lemon juice (or about 2 limes)

2 tsp ground yellow mustard seed

1tbs ground pepper

1 tsp Paprika

1 tsp turmeric

6 tbs soy sauce

INSTRUCTIONS

Slice up the onion and sauté in little olive oil until translucent and slightly brown.

Add onion and rest of ingredients to a food processor and blend until smooth.

Scrape out the sauce and use as you wish! Again, think pizza, lasagna, a dip for raw veggies and more. Last night, we had quinoa-brown rice pasta with steamed cauliflower and spinach, smothered in this cashew sauce and topped with tatsoi microgreens. Magical, remember?!


Roasted Delicata and Beet Salad

This flexible recipe was inspired by this beautiful one! My modification simplifies it (I don’t see when or why I should remove the skin from my beets!) and suggests orange juice or honey instead of agave nectar for the sweetener.

This flexible recipe was inspired by this beautiful one! My modification simplifies it (I don’t see when or why I should remove the skin from my beets!) and suggests orange juice or honey instead of agave nectar for the sweetener.

Use this week’s veggies to make this flexible salad. Here are some ideas for different directions you can take it!

INGREDIENTS

1 delicata squash

1 large beet or a few smaller ones

olive oil

salt and pepper to taste

1/3 cup feta cheese or sunflower seeds for a vegan version

salad mix

microgreens

For the Dressing—

1/4 cup red wine or balsamic vinegar

1 tsp dijon mustard (optional)

juice of one orange or 1 tsp honey

1/2 tsp rosemary or thyme or oregano

salt and pepper to taste

INSTRUCTIONS

Slice the delicata in half, remove the seeds and then slice into 1/2 inch slices

Slice beet in half and then slice each half into 1/2 inch slices

Put on a baking sheet lined with parchment paper, sprinkle with salt, pepper and drizzle with olive oil.

Roast at 400 degrees until cooked through and slightly crisped.

Toss with salad, feta or sunflower seeds and dressing. Top with microgreens and enjoy!

Chard Carrot and Potato Dal

Copy+of+Untitled+%281%29.jpg

Chard is a powerful, nutrient dense green—standing out for its vitamin K content, lots of vitamins A C and E, iron and calcium. It’s known as anti-inflammatory to promote heart health and regulate blood sugar.

Thanks to Kelli Mcgrane for the recipe that informed this post. I have tweaked it a bit, doubling her original recipe, simplifying the steps a bit and changing the order so the greens don’t cook as long. Finally, this version has more liquid because any kind of dal makes me crave the first course served at Taste of the Himalayas, which is simply soupy and delicious. What better way to eat lots of chard?

Serves 6


Ingredients

4 tbs oil (try 1 tbs sesame and 1 tbs olive or coconut oil)

6 cloves garlic , peeled and chopped

3 inch piece of ginger, chopped or grated

2 tbs ground cumin

1 tbs paprika

1 tbs ground turmeric

1 tbs salt

1/2 tsp black pepper

1 large or 2 medium onions, finely chopped

4 to 6 carrots, sliced

1 bunch swiss chard, chopped

4 small or 2 large potatoes (try gold or red potatoes!), chopped into large cubes

1 cup red lentils

6 cups water

1 cube veggie bouillon

pea shoots or microgreens

Instructions:

Heat oil in a pan. Add spices and cook for 30 seconds.

Add onion and garlic and cook until onions are translucent.

Add carrots and cook until they start to crisp (maybe 6 minutes)

Add potatoes, water and veggie bouillon and bring to a boil. Then simmer for about 20 minutes until lentils and potatoes are cooked. Add chard and cook for a couple more minutes.

Serve hot and enjoy. Goes well with a side of rice and topped with microgreens or pea shoots!

Cashew Green Bean Lettuce Wraps

Ingredients:

toasted sesame oil

1 small to medium sized onion, diced

2 to 4 cloves garlic, chopped

1 tbs ginger, grated or chopped

1 lb protein of choice (I use tofu or tempeh), diced

green beans, diced

carrots diced

cashews, chopped or slightly crushed

lettuce

microgreens (we’ve got broccoli this week!)

Hoisin Sauce (Try this flexible recipe if you want to make it at home)

Instructions:

Stir fry onion in a large pan with sesame oil until translucent. Add garlic, ginger and your choice of protein

Add green beans, carrots and cashews to the pan and drizzle generously with hoisin sauce.

Stir fry for a few minutes (up to you how well-cooked you like your veggies!)

Serve over lettuce leaf and top with microgreens or, better yet, put everything out (maybe with some rice or quinoa on the side) so people can make their own. This DIY “lettuce tacos” dish gets my little ones to put down the lettuce!

Strawberry Orange Popsicles

Beautiful simplicity (two ingredients—maybe three if you wanna get fancy) and a gentle exercise in planning and patience (gotta think ahead and wait for them to freeze) followed by an exercise in focus (gotta eat it before it melts). Homeschooling looks like this sometimes…activities that serve me just as much as my kids and are best completed outside in the sunshine. So, here it is—a flexible Strawberry Orange Popsicle recipe (adjust proportions to your liking):

1 cup strawberries (chopped)

2 cups orange juice

ideas for a third ingredient—mint, basil, or even microgreens (we’ve got purple kohlrabi this week!) if you’re feeling adventurous or are looking for ways to get your kids to eat more greens.

Instructions:

1. Blend all ingredients.

2. Pour into your popsicle mold. Here’s an article with ideas of how to make popsicles without a mold.

3. Wait a few hours.

4. Go outside, sit in the sun and enjoy.

strawberry+orange+popsicles.jpg
IMG-9481.jpg
IMG-9475.jpg
IMG-9482.jpg
IMG-9484.jpg

Citrus Strawberry Cabbage Salad

Here’s a quick and easy salad using this week’s fruit and veggie rainbow. Adjust the ingredient proportions to your liking and enjoy alone as a refreshing snack or as a side to a hearty meal.

Ingredients:

Lettuce (this week, we’ve got red romaine)

and/or

Kale

Cabbage (this week it’s red cabbage, which is really more purple)

strawberries (sliced)

microgreens (this week, it’s tatsoi and kale mix!)

citrus (orange, tangelo or tangerine will do! peeled and cut in wedges)

vinegar (balsamic or apple cider)

olive oil

salt and pepper

nuts (optional to add protein—Use whatever you’ve got around—try almonds, pistachio, pepitas, walnuts or pecans)

Instructions:

Just rinse, chop and mix or layer ingredients. Save the olive oil, vinegar, salt and pepper to drizzle and sprinkle over the top. Feel good about the mountain of vitamins and flavor you’re putting into your body.

eat the rainbow benefits by color.jpg

Mushroom Pizza with Arugula Microgreens

This week’s recipe idea strives to be super flexible—the important note is simply that arugula tastes amazing on pizza. In my opinion, this is the best possible thing to do with arugula and this is the week to make it happen! Now, option 1 in my current exhausted and slightly stir-crazy state of mind is that after sooo long of just eating at home, it’s time to order a pizza for delivery… and once it is here, I want to top it with a heap of our arugula microgreens.

Note: To anyone finding the sharpness of the arugula too strong for their taste, just the tiniest bit of heat brings the flavor intensity way down. So, stick the pizza with the arugula in the oven for just a minute or two and enjoy a more mellow version of this nutritious green.

Another important note: Check out this recent Edible San Diego article about TakeIn, a new delivery service that better supports local businesses. I am excited to try it this week for my pizza that I’m not going to make from scratch!

Option 2: For anyone not into ordering out for the time being—there’s always Trader Joe’s fresh pizza dough as a shortcut to make yummy pizza at home.

Option 3: If you’re not stocked up on pizza dough or pizza crust and/or don’t want others making any part of your pizza, aren’t dog tired (like me this week!) and happen to have water, yeast, flour, salt and a bit of time around— Here’s one of many recipes out there for making your own pizza dough.

Option 4: Gluten Free DIY pizza—Check out this idea for Millet-Crusted Mushroom Arugula Pizza.

A final note takes us back to the beginning—mushrooms! At the top of my pizza toppings list is mushrooms. Mushrooms with arugula hits the spot. Even more exciting, add sun dried tomatoes or pesto. Or whatever else makes the top of your list.

Another gluten-free pizza crust alternative: Cauliflower!

Another gluten-free pizza crust alternative: Cauliflower!

Indulgent Quick Pickle Beet Salad

Ingredients:

Once Harvard Medical School’s Vegetable of the Month, this article highlights a few the nutritional and medicinal benefits of beets (high in vitamin B and manganese and contributes to lower blood pressure). Also, they find that you gotta make it sou…

Once Harvard Medical School’s Vegetable of the Month, this article highlights a few the nutritional and medicinal benefits of beets (high in vitamin B and manganese and contributes to lower blood pressure). Also, they find that you gotta make it sound indulgent if you want people to eat more of it.

1 to 2 cups beets (thinly sliced— try shaving it with a potato peeler) Option to do half carrots, also shaved with a peeler

1/4 to 1/2 cup vinegar (try red wine vinegar, rice vinegar or apple cider vinegar)

1/2 to 1 1/2 tbs sugar (or not, people make sugar out of beets so they’re already pretty sweet…you decide how much to indulge!)

1/2 to 1 tsp salt (again, you decide how much)

lettuce or other salad greens—use what you’ve got!

olive oil

microgreens (this week, we’ve got purple kohlrabi!)

other optional toppings: nuts (try pistachios!) and/or seeds (maybe sesame, sunflower or pepitas)

Instructions:

In a small pot, heat vinegar, salt and sugar until boiling then remove from heat and add beets (and carrots if you’re using them). Let sit and cool or at least 10 minutes.

In a salad bowl, toss lettuce (or salad greens) with a little olive oil, salt, pepper and a dash of lemon.

Add cooled quick pickled beets (and carrots, if using)

Top with a generous handful of microgreens and other optional nuts and/or seeds.

Garlic Mushroom Spaghetti with Microgreens

865cc12b-98e5-40cf-8865-52f5d0417b24.JPG

Comfort food to the max, I like to think of this spaghetti dish as quick and fancy.

Ingredients:

1 pack of spaghetti

fresh mushrooms (the more the better, but use what you’ve got. Lots of varieties work—regular white button mushrooms, cremini, portobello…you can even mix it up. This week we have bunashimeji and it’s delicious!)

extra virgin olive oil

salt

pepper

microgreens (broccoli, cabbage, arugula, amaranth, kohlrabi…so many colorful options!)

lemon

Instructions:

1. Preheat oven to 400

2. Heat water in a pot for cooking the spaghetti

3. While the water heats up, slice up your mushrooms. If you’re using bunashimeji, all you need to do is cut the bottom inch or so off so that they separate. Spread them in one layer on a baking sheet (lined with parchment paper for easy clean-up). Drizzle with olive oil, sprinkle with garlic slices, salt and pepper and bake for about 10 minutes or until just a bit crispy.

4. Cook the spaghetti as directed, drain and toss with a little olive oil, salt and pepper.

5. Serve spaghetti topped with mushrooms & garlic, a generous pile of microgreens and a dash of lemon.