
This recipe is inspired by this Sage and Apple Soup NYT Recipe, but I’ve slightly modified it to better use what’s in season and in our box this week.
Here goes!
Ingredients:
1 long island cheese squash (any other winter squash could also do!), cut in half
1 onion
6 cups veggie broth
12 sage leaves (good excuse to go on a hike and harvest a few!)
a few collard leaves, finely chopped
1 cup olive oil
2 pears
salt and pepper to taste
microgreens
Instructions:
1. Remove seeds from squash (clean and set aside to roast for a yummy snack!)
2. Rub open face of squash with olive oil, sprinkle with salt. Place on a baking sheet and cover with foil. Bake at 400 for 30 to 45 minutes, or until soft.
3. Chop onion and saute with a bit of olive oil then set aside.
4. Add rest of oil and fry sage leaves for about 8 seconds, then remove leaves and set aside on a plate lined with a paper towel.
5. Add the pumpkin seeds to the sage-infused oil and for about 20 seconds or until they look toasted. When ready, remove the seeds from the oil and place on a plate lined with a paper towel and sprinkle with salt and pepper.
6. Once squash is cooked, scoop out the meat and put in a large pot if you have an immersion blender or place in regular blender with some veggie broth, onion and 1 sliced pear. Blend then cook in the large pot with rest of veggie broth, collards and a spoonful or two of the leftover sage-infused oil for about 10 minutes.
7. Saute rest of pear slices for a few minutes in the last bit of sage-infused oil and sprinkle with salt and pepper.
8. Serve up the soup! Add the fried pear, squash seeds and microgreens as toppings.
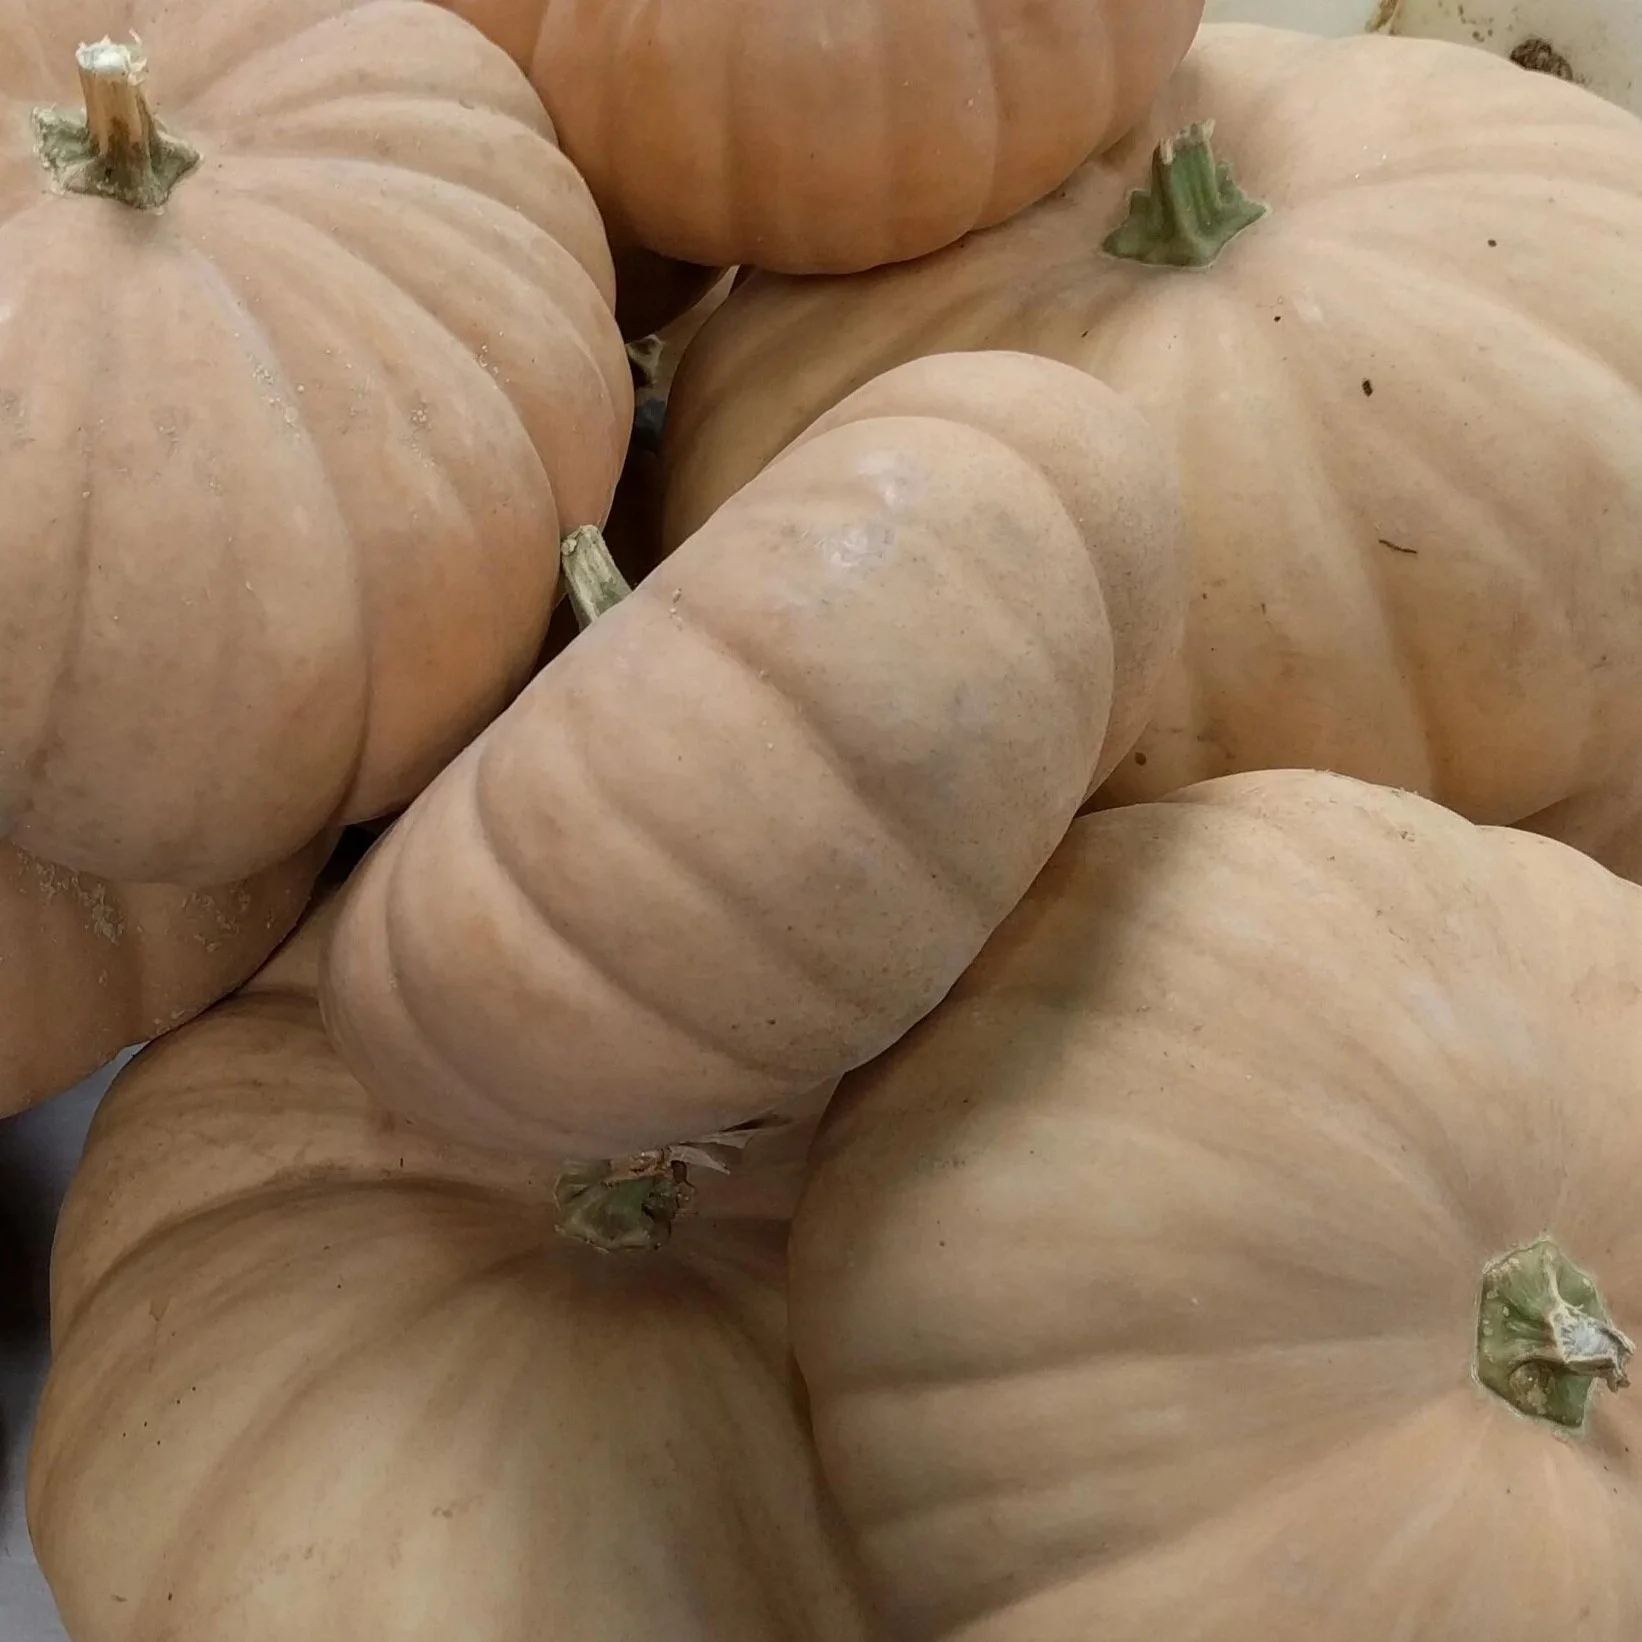
Long Island Cheese Squash is a winter squash named after its shape that resembles a wheel of cheese. If you have the space, buy or save a few seeds to try growing this beautiful pumpkin next year!
